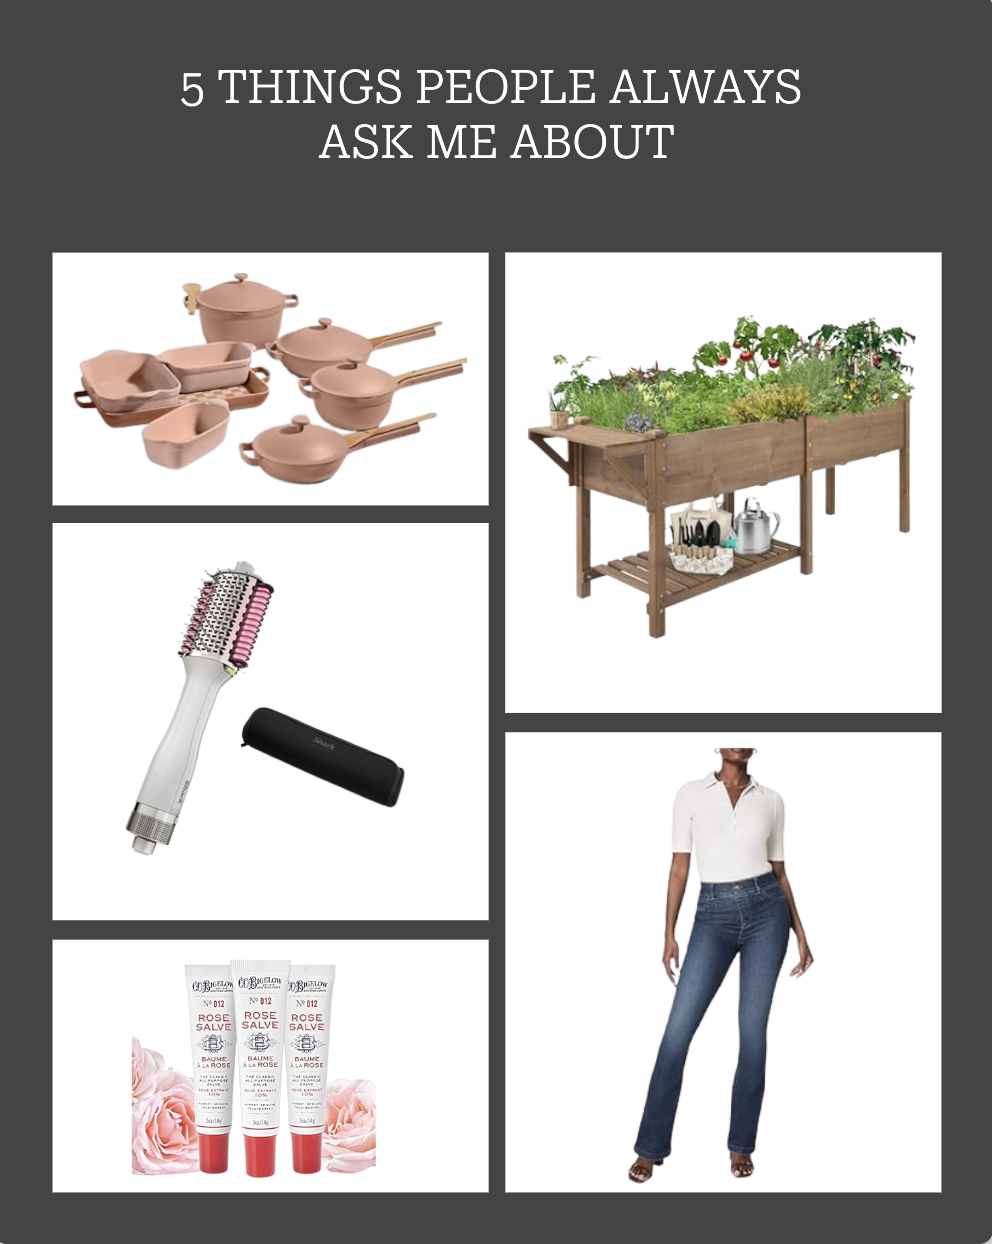
5 Things People Always Ask Me About (And Why I’m Obsessed)
Five things people stop me about in real life — my hair, my lips, my pans, my Spanx, and my garden beds. Here they are, with links, so you don't have to hunt them down yourself.
I get asked about these things constantly. In real life, on Instagram, in my DMs. So here they are — with links — because I'm done answering one at a time.
01. The Shark SmoothStyle Heated Comb + Blow Dryer Brush
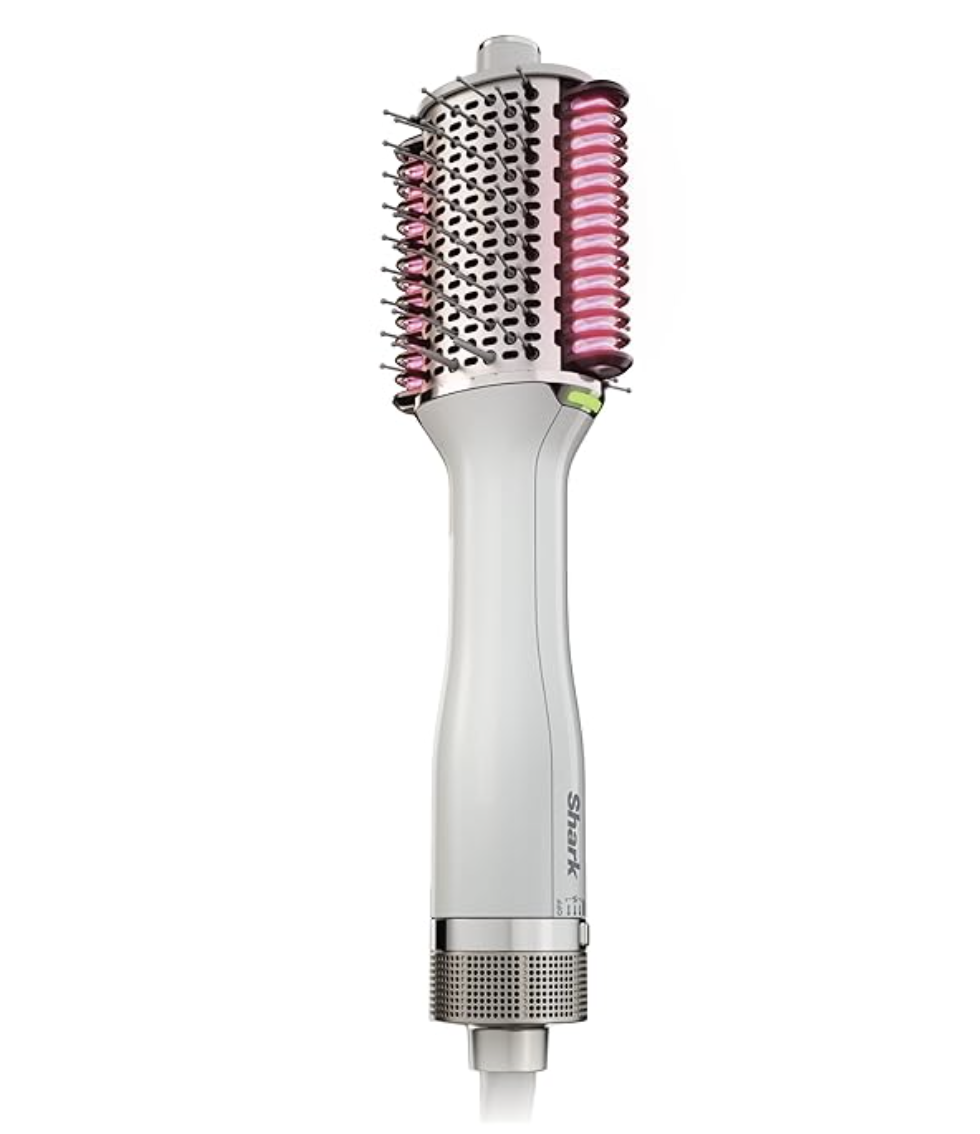
The tool behind the blowout. Worth every penny.
I have been asked about my hair more times than I can count. The honest answer used to be "my colorist is a genius" — and she is — but the other half of the answer is this tool.
It's a heated comb and blow dryer brush in one. No more holding a round brush in one hand and a blow dryer in the other while slowly losing feeling in both arms and sweating through my shirt. One tool. One pass. Salon blowout.
But here's the part I love most: I wash my hair once a week. This keeps it looking fresh on day three, day four, and honestly day five if I'm being real. A few passes and it smooths, flips, or softly waves depending on what I need that day.
$119.85 on Amazon — currently 20% off. Comes with a carrying case. Worth every penny.
02. Spanx Clothing (Yes, the actual clothing, not just the shapewear)
I'm a Spanx partner because I love them so much! All opinions are my own. And they’re all glowing.
Most people know Spanx for the shapewear. I'm here to talk about the clothing line.
I get stopped regularly and asked about my jeans. My shorts. My tracksuits. The answer is almost always the same: Spanx.
Are they a little pricey? Yes. Are they worth it? Also yes. Here's why: they know how to clothe a woman's body. They smooth the right things, they're long enough if you're tall, and they actually last. I've had pieces for years that still look brand new.
The jeans especially. I've had people tell me they look expensive. They do. Because they are. But you wear them constantly so the cost per wear ends up being embarrassingly reasonable.
If you've only ever tried their shapewear, go look at the clothing line. You can thank me later.
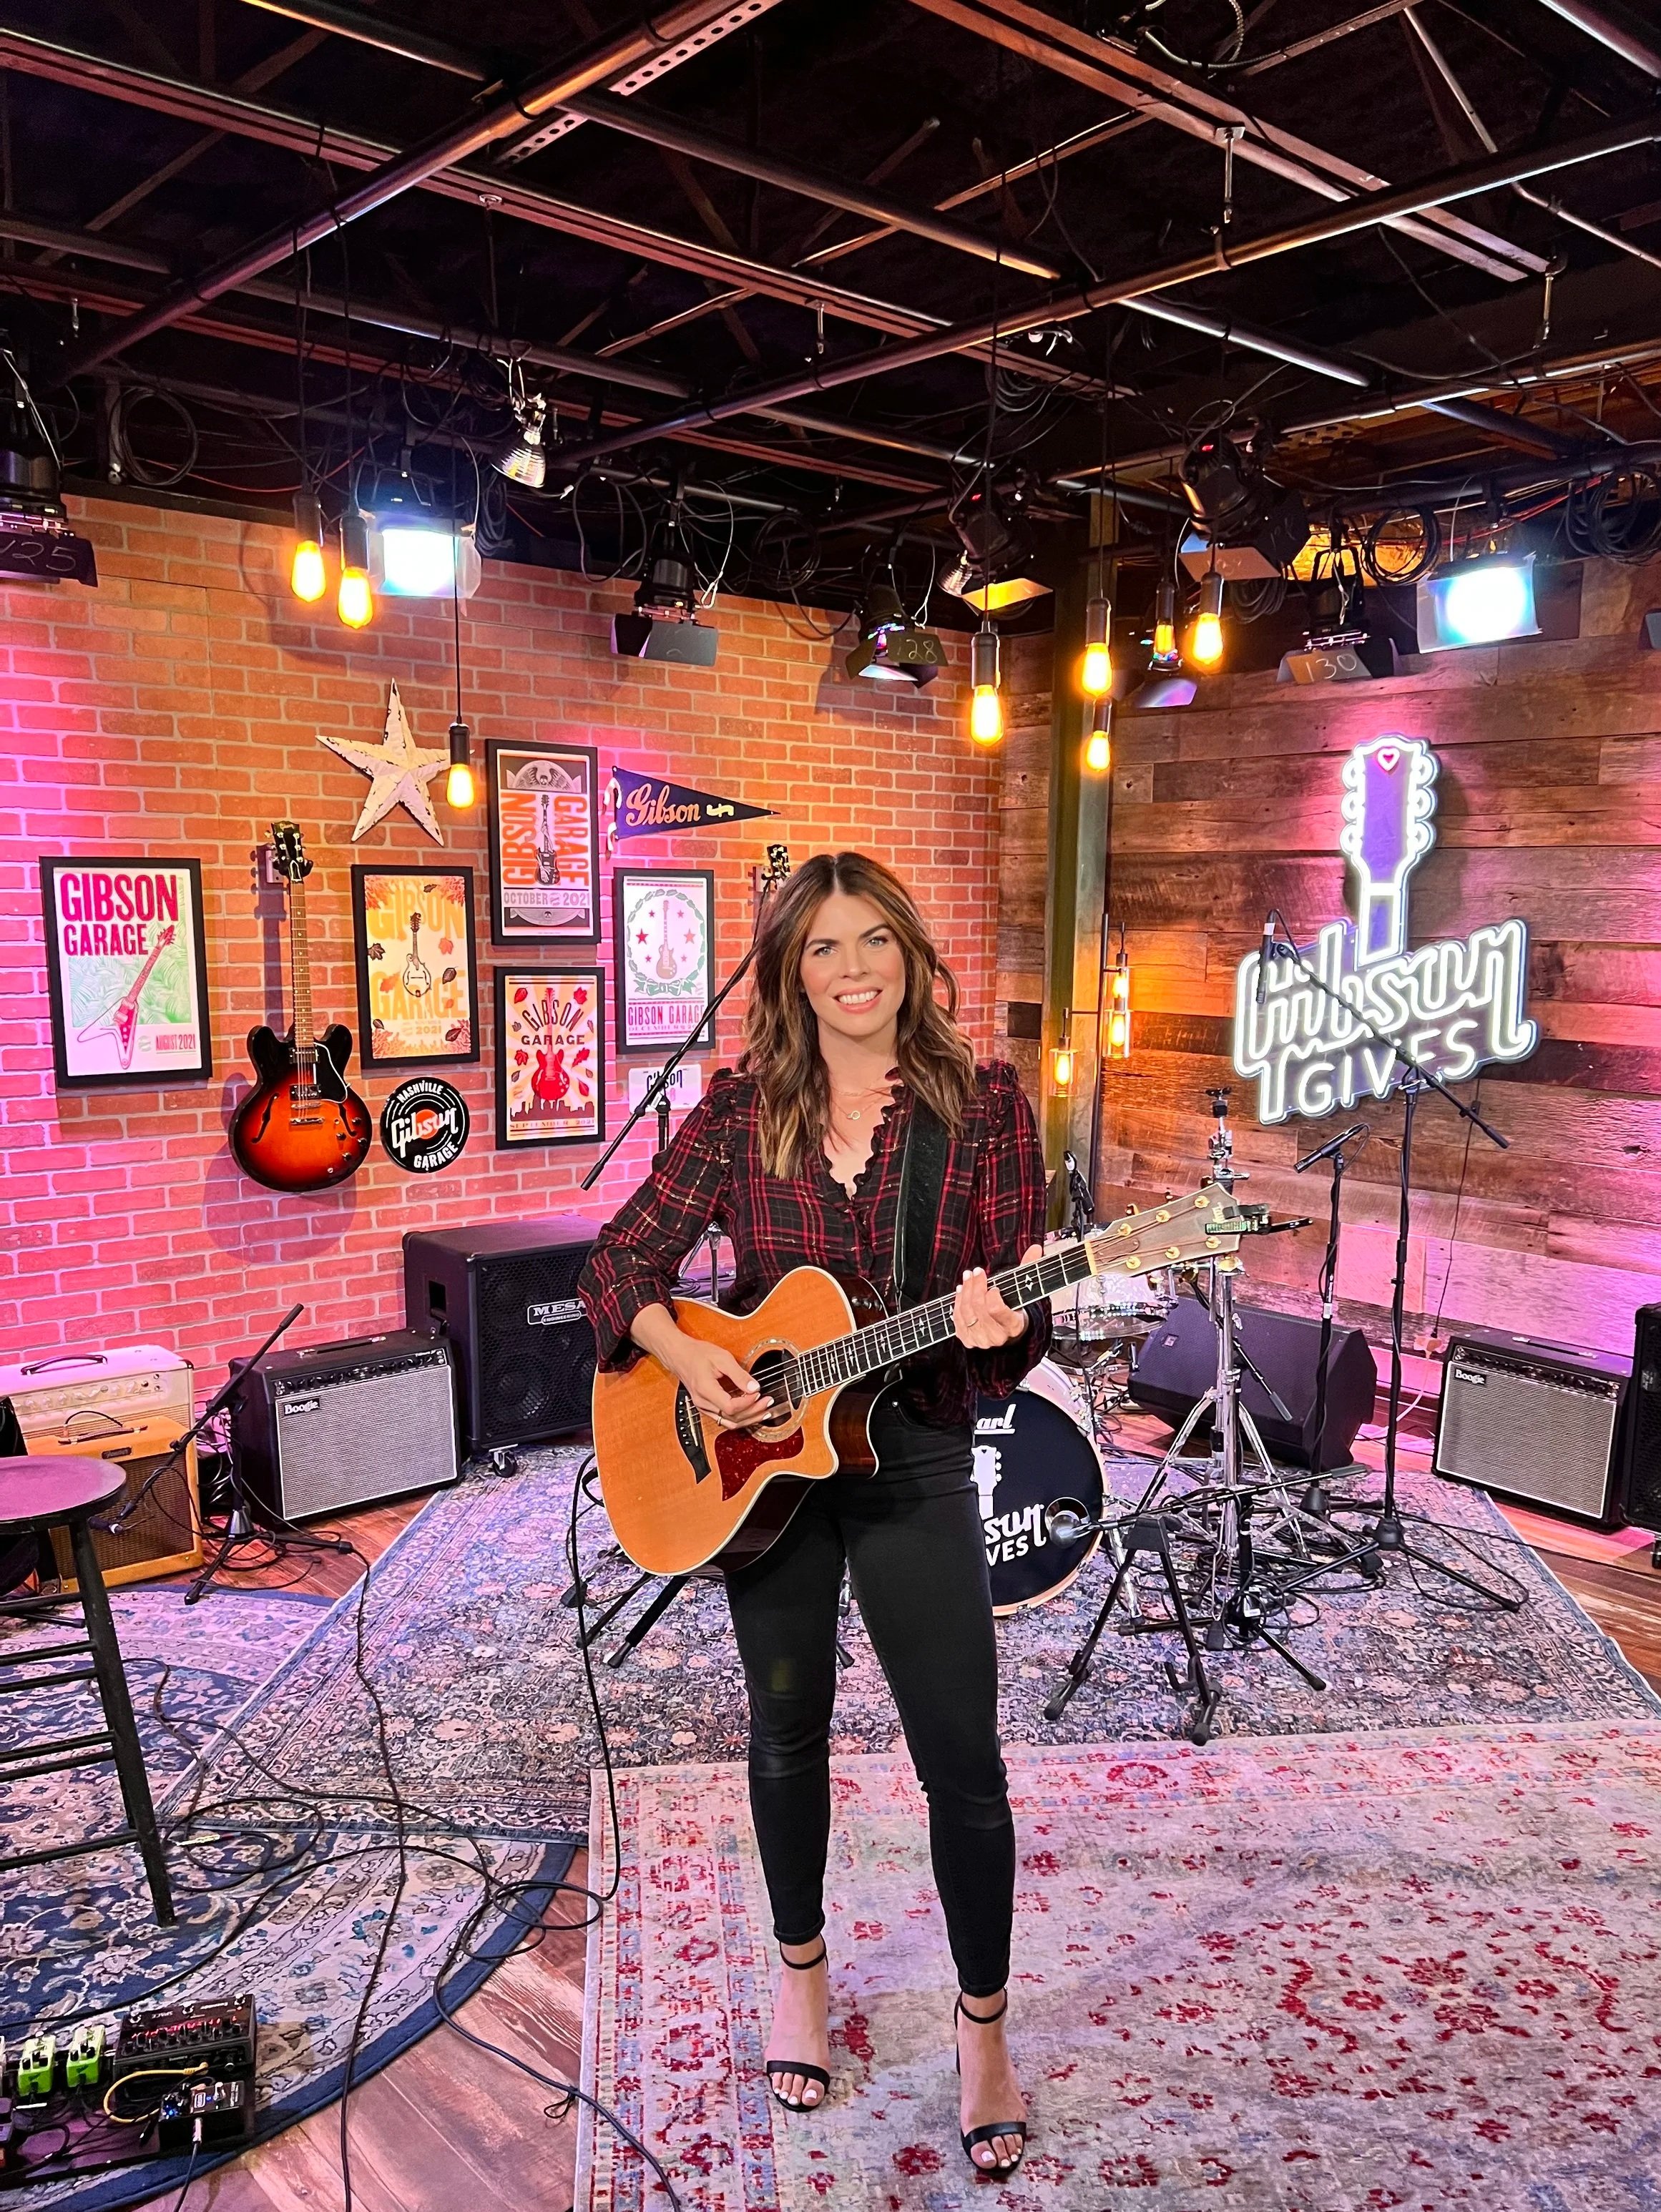
Spanx jeans are good enough to wear on TV! I wear them all the time on tour dates. This was a live performance on Channel 4.
I live in the Spanx Air Essentials separates. This color is my favorite around the holidays.
Enjoying this? I wrote a letter I wish someone had sent me at 35 — plus a playlist to go with it. Both are yours, free. Grab them here.
03. Rosebud Salve
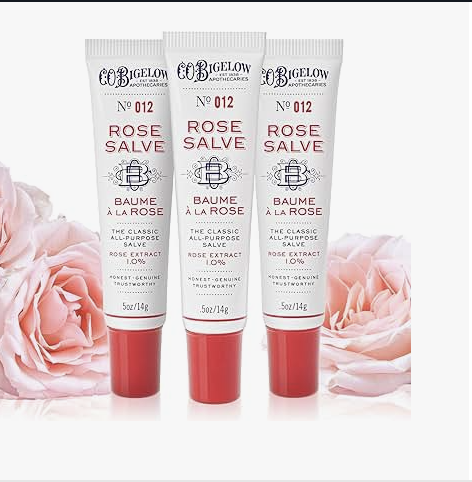
Not lip gloss. I promise. Just this little tube doing all the work.
I have been stopped and asked what lip gloss I'm wearing more times than I can count. The answer is always the same: it's not lip gloss. It's this.
Rosebud Salve is a lip moisturizer that pulls double duty as the softest, most natural-looking lip stain you've ever seen. No gloss, no sticky, no "I just applied something" feeling. Just hydrated lips with a hint of color that looks like you’re glowing from within.
I buy the three pack every time. One in my purse. One in my car. One on my nightstand. Because I hate needing it and not having it within reach.
It's on Amazon. It's inexpensive. It's one of those things you'll wonder how you lived without.
Shop Rosebud Salve on Amazon →
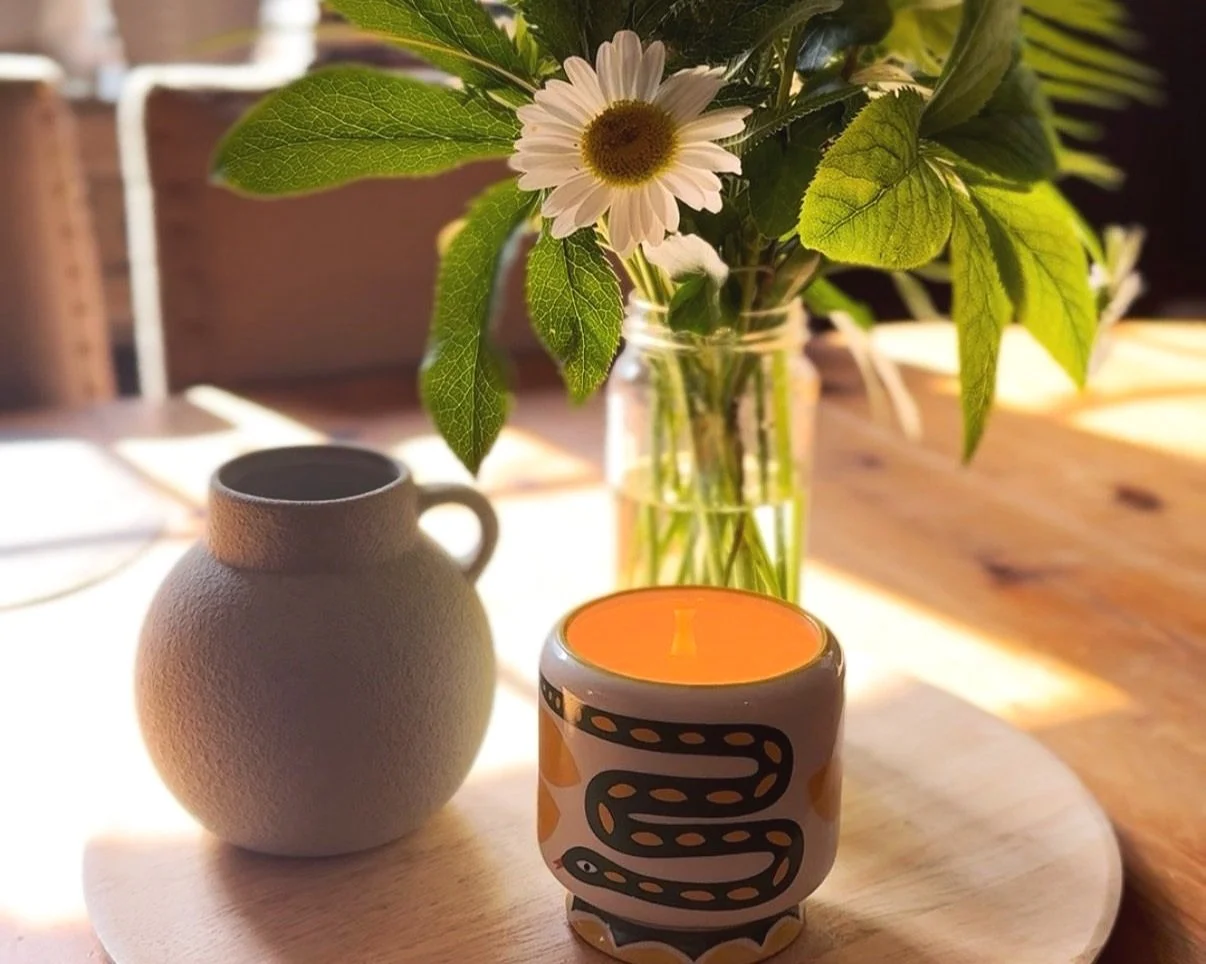
04. Our Place Always Pan & Perfect Pot Set
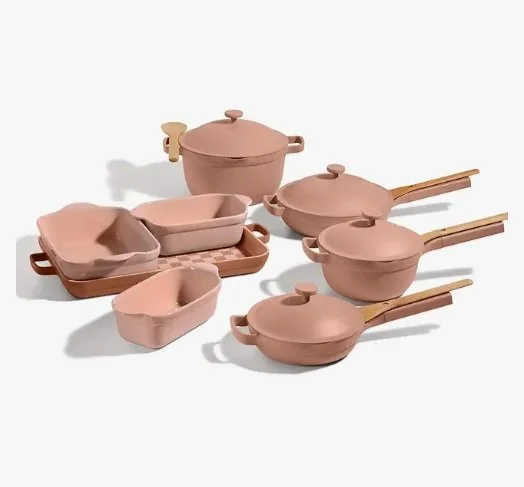
Christmas gift. Used every single day since. The pot with the strainer lid changed my life a little.
I got these pans as a Christmas gift and I cook with them every single day. Every. Single. Day.
Last night I toasted pine nuts in one while boiling pasta in the other. That's a Tuesday.
The pot is the thing I can't stop talking about. It comes with a lid that has a steam vent on one side and a strainer on the other. So you can drain your pasta without hunting for a colander. It has a built-in spoon rest on the handle. It's nonstick. And it is light as a feather. You're not getting a weightlifting workout just moving dinner from the stove to the table.
Listen, I love a good heirloom pan for my favorite family recipes. But for everyday cooking — the weeknight pastas, the quick sautés, the pine nuts you're toasting at 6pm because you promised your family pesto — this is what I reach for every time.
They come in the most beautiful colors too. Mine is Spice and I'm not sorry about it.
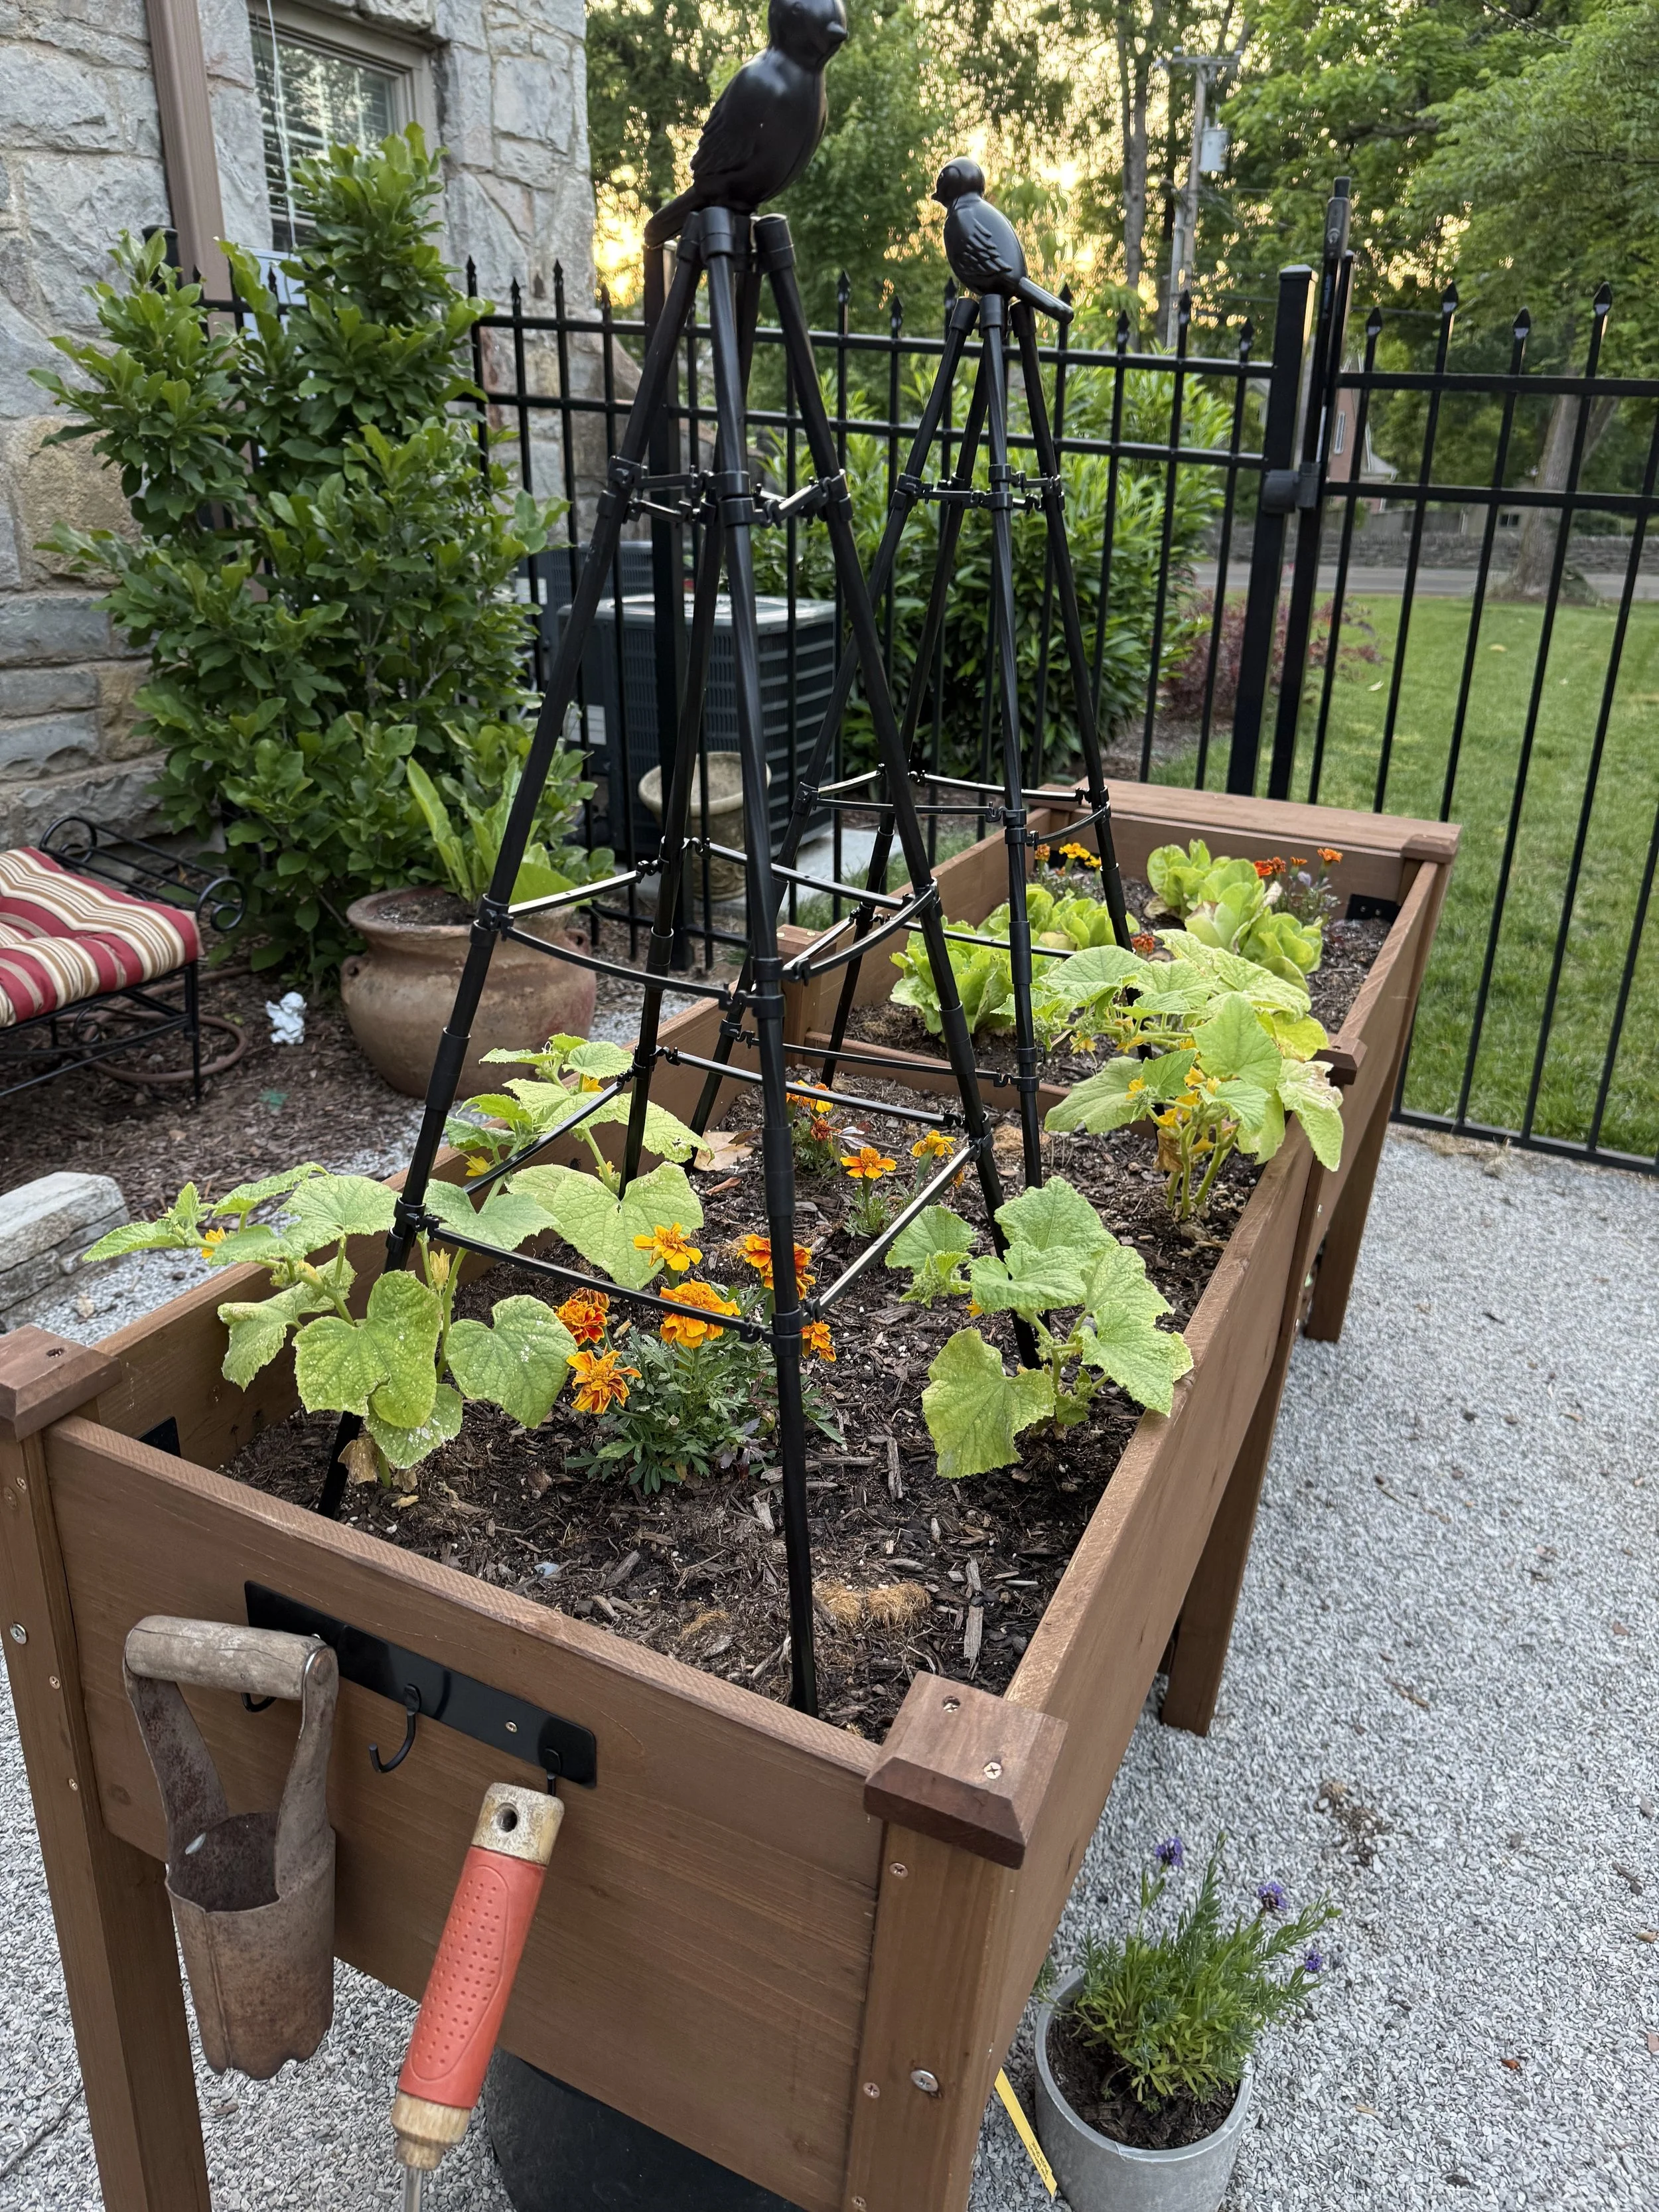
05. Raised Garden Beds
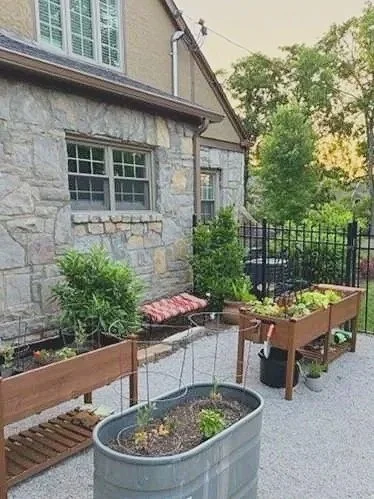
Three weeks in. Everything looks intentional. The tomatoes are lying.
I started my first vegetable garden this spring and I built it around these cedar raised beds. They are beautiful. Like, genuinely beautiful. My husband wants to know why I'm outside at 7am talking to my tomatoes. Valid question.
I have two of them set up alongside a galvanized stock tank and one very ambitious horseradish plant that won't be ready until fall. Together they hold my lettuce, cucumbers, tomatoes, herbs, and marigolds. The beds are sturdy, well-built, and elevated enough that you're not breaking your back every time you need to water or weed.
If you've been thinking about starting a garden and just need a reason to commit, well, this is your reason.
Fair warning though: I am three weeks in and my tomatoes are already staging a protest. Read the full tomato story is over here if you want to feel better about your own garden struggles.
Shop the Raised Garden Beds on Amazon →
These are the things that genuinely make my daily life better. Not sponsored, not gifted — just five things I actually use and get asked about constantly. If you try any of them, come back and tell me what you think.
And if you have something I absolutely need to know about, I'm listening.
Shop the Post
Everything I actually use. Everything I actually get asked about. Links to all of it in one place.
Five things I get asked about constantly. All of them worth every penny.
Keep Going →

The Best Personalized Baby Gift (Plus How to Wrap It Like You Mean It)
The best personalized baby gift I've found — plus the ribbon trick that makes any wrap look like a professional did it.

Whimsical and classic gift wrap - perfect for a baby gift
There’s something about the early days of fall — the golden light, the quiet shift indoors — that makes me want to slow down and give more intentionally. I call it nesting into fall — cozying up the house, tending to small rituals, and leaning into thoughtful moments of care.
Recently, we wrapped a gift for friends who just had a baby, and it turned into one of my favorite “slow gifting” moments yet.
When our son was born, someone gave us a personalized bedtime storybook from I See Me! with his name woven into the story. At the time, it was sweet. Now that he’s five? It’s one of our most treasured books. He lights up every time he hears his name on the page, and it’s even helped him learn to recognize, read, and write it.
So when our friends welcomed their baby, we knew exactly what to send: their own ISee Me! book, personalized just for their little one.
This kind of gift becomes a ritual — something that’s not just opened once, but read over and over again.
Whether you're headed to a baby shower or dropping something on a doorstep, this is one of those gifts that truly grows with them.
How I Wrapped It
I love a gift that feels like part of the experience — not just what’s inside, but how it’s presented. For this one, I kept it simple and sweet, but added a few easy touches that make it feel extra special.
We wrapped it in alpaca-themed kraft paper — soft and whimsical — and tied it with a neutral silk ribbon with polka dots in a simple bow. The whole thing felt classic, cozy, and just right for this season of life.
Here’s how I wrapped the personalized See Me! book:
I used the alpaca-print kraft paper for a playful, neutral base.
I wrapped a soft cream colored silk ribbon with gold polka dots around the gift, folding it into a clean bow.
Then I trimmed the ribbon ends on a diagonal cut (this makes a huge difference!) to give it that polished, professionally wrapped look.
I even snapped a few action shots as I went — scroll down for a closer peek at the folding and trimming process!
It doesn’t take much to make a present feel extra loved — just a few intentional touches, folded with care.

Use soft, neutral ribbon that’s easy to tie.
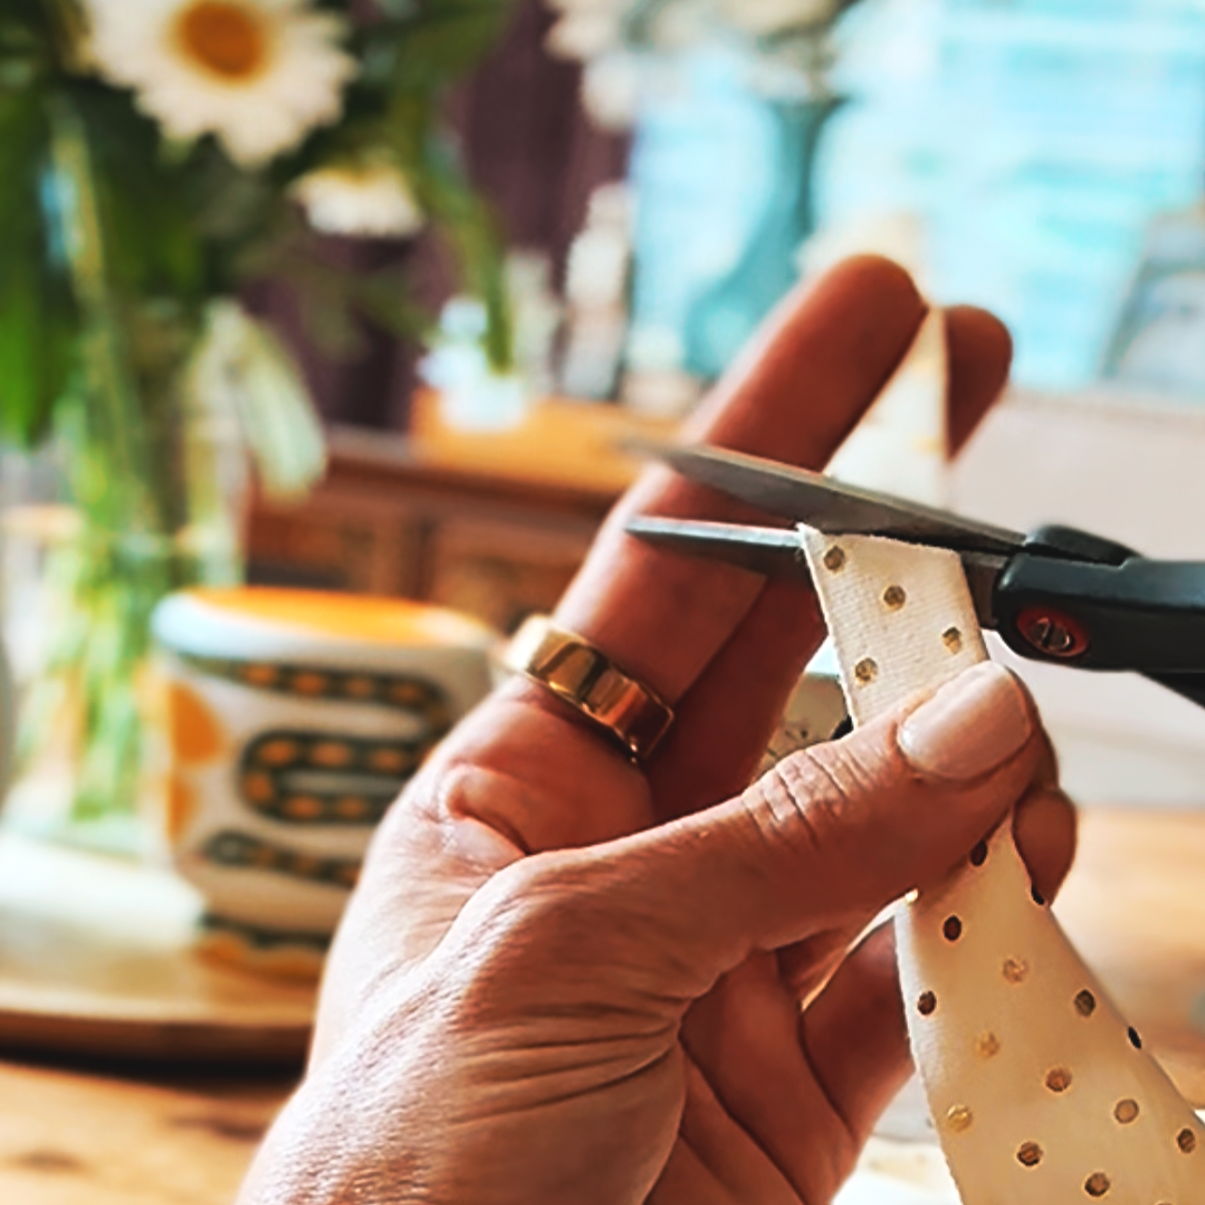
Fold your ribbon in half length-wise, then cut on the diagonal to make the perfect, polished ends to your bow!

Viola! Perfectly cut ribbon ends.
Enjoying this? I wrote a letter I wish someone had sent me at 35 — plus a playlist to go with it. Both are yours, free. Grab them here.
Shop This Gift
Whether you're celebrating a new arrival or looking for a baby shower gift with heart, here’s everything I used (and loved) to create this cozy, personalized present:
Exact Gift Combo – Shop on Amazon
This includes the actual items we used — perfect if you want to recreate the look one-to-one:
The personalized ISee Me! storybook
Alpaca-print kraft wrapping paper
Neutral silk ribbon with polka dots

I See Me! Customizable Children’s Book
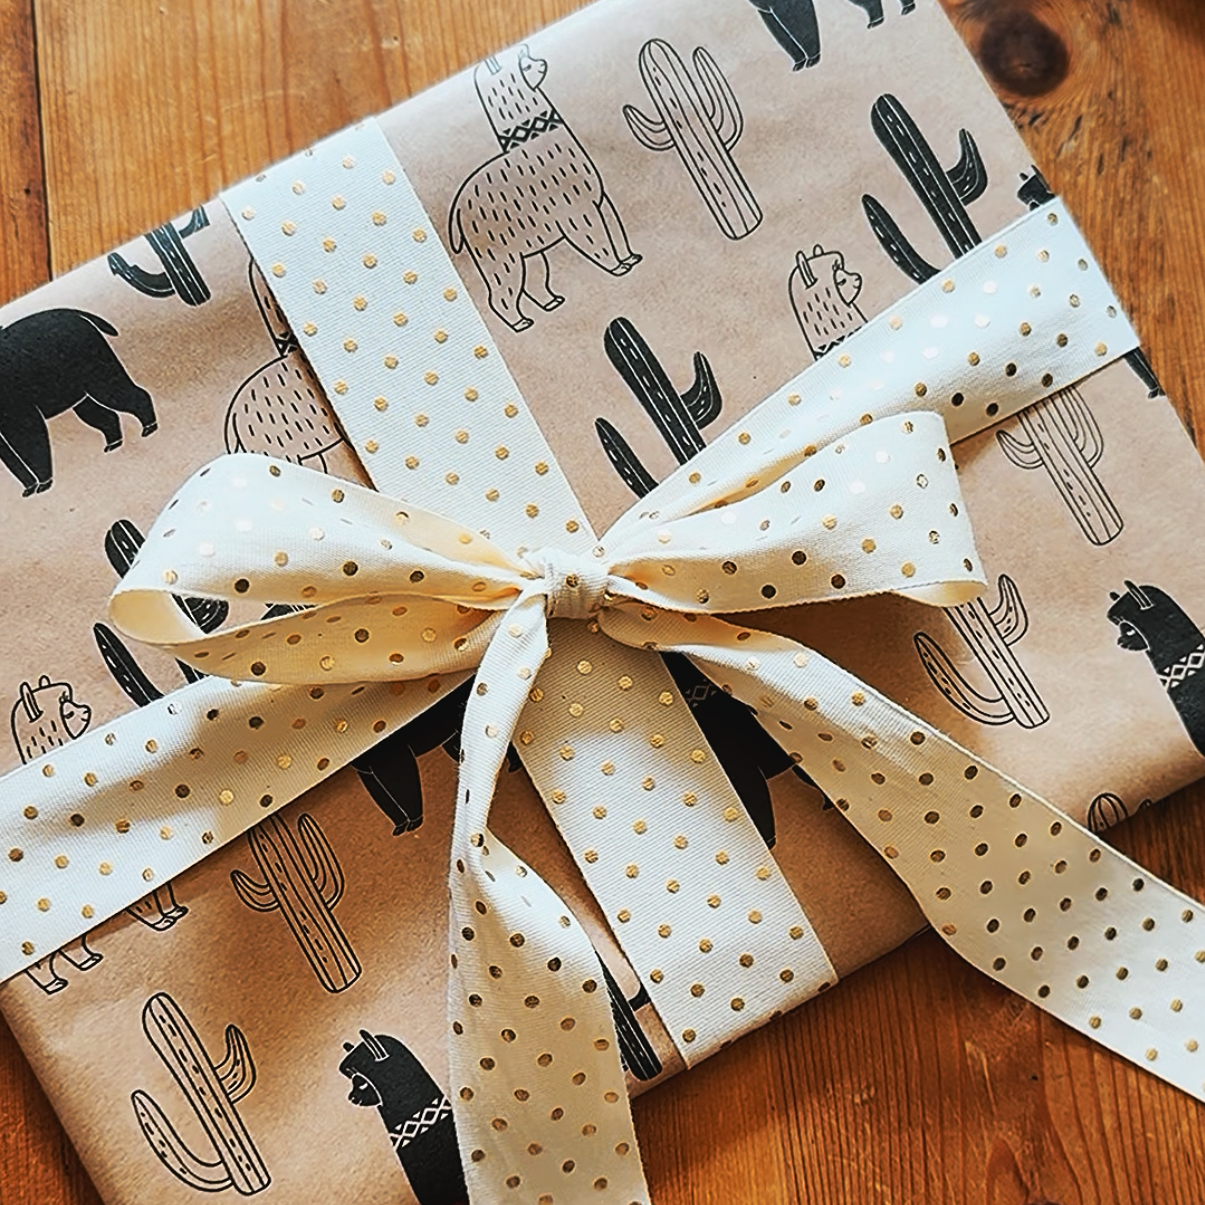
Whimsical and neutral gift wrapping for baby gift
Inspired Baby Gift Edit – Shop on LTK
Want to build your own version with a similar feel? I pulled together a fall-toned edit featuring:
Cozy-neutral gift wrap options
Soft, timeless baby gifts
Thoughtful extras for slow gifting
No matter which route you take, this gift is one that truly grows more meaningful with every bedtime read.

Pin this adorable baby bedtime book for a gift idea!
More Fall Inspiration ↓


Why I'll Never Get Gel or Dip Again
I'm a guitar player and busy mom who destroys a manicure in 48 hours. Here's the chip free nail polish system that finally held up — and the one I switched to for at-home manis.
Why I Quit Gel and Dip For Good
Okay, this is by far the most popular question I got from my Living with Landyn Instagram takeover — why did I say I'll never get gel or dip again? If you're an active woman looking for chip free nail polish that actually holds up, here's everything I know.
I'm a guitar player and a busy mom. I love a fresh mani/pedi — it's one of those small pleasures that makes me feel put together. The problem is I'm constantly raking my nails across metal strings, digging into a bag, or washing my hands twelve times a day. Gel and dip were never going to work for my life.
Every time I get gel or dip, I regret it. I’m stuck with the color until I can get back to the salon to get it removed with foils. Typically, after a few weeks, the polish starts to crack anyway. Or my nails grow out so far from the bed that it’s not a good look. And my nails are absolutely destroyed if I take off gel or dip and decide not to get them done again for a while. They’re paper thin, scratched and it takes the entire time of a nail to regenerate for them to look decent and strong again. You feel me, ladies?
The Polish That Started It All
Enter Dazzle Dry. This is the product that started it all for me — chip free for 1-2 weeks on fingers and 3-4 weeks on toes. It comes off with regular polish remover, and it's clean, cruelty free, and vegan. The system is four steps and you have to follow the directions exactly, but once you get it down it's easy. I still get Dazzle Dry on my toes at the salon. It's unbeatable for longevity.

This is day 5 of my mani.
“Alluring Charm” is my go-to Dazzle Dry color.
My next favorite part is it comes off with regular polish remover. Bonus: it’s clean, cruelty free, and vegan (did you know some polishes use animal by products? I didn’t until recently. What ARE we putting on and in our bodies?! Ew!).
My friend, Steph, originally told me about it and said a salon in my neighborhood offers it. I love getting my nails done professionally because they paint them way better than I can, but I’ve also bought the Dazzle Dry system and done them at home myself when I can’t get to the salon.
The system is 4 simple steps, but I will warn you: you must use the entire system and follow the directions for the polish to cure properly. When you receive your product in the mail, Dazzle Dry includes a QR code where you can watch a video to see how it’s done. It’s easy, but there are nuances. If you try it, I highly recommend watching the video first. The director training will make no bones about it: if your mani chips before 1 week, then you missed a step in the directions. I can attest, it took a little practice for me, but as I type this right now, I’m on day 4 of my at-home mani and going strong.
What I Use Now for At-Home Manis
For at-home manicures on my fingers, I've since switched to Olive and June. Easier system, same chip-free results, and the color range is incredible. If you want something low-maintenance that actually looks like you got them done, this is it.
Shop Olive and June on Amazon →
Try One. Tell Me Everything.
If you try either system, come back and tell me what you think. And if you want to see what I'm actually wearing on my nails any given week, I'm on Instagram at @laurenlucasmusic.
If you're in the market for more things I genuinely use and get asked about constantly, this post has you covered.

I compose the score for Leanne, Chuck Lorre's Netflix sitcom starring Leanne Morgan. Keb' Mo' called me to lead the team. Here's what it actually feels like from the inside.